01302 354 500 Contact Us

0Item(s)

You have no items in your shopping cart.

Product was successfully added to your shopping cart.

Stone & Garden Co.

The Stone & Garden Company Blog

  • Learn how to look after your garden during a heatwave!

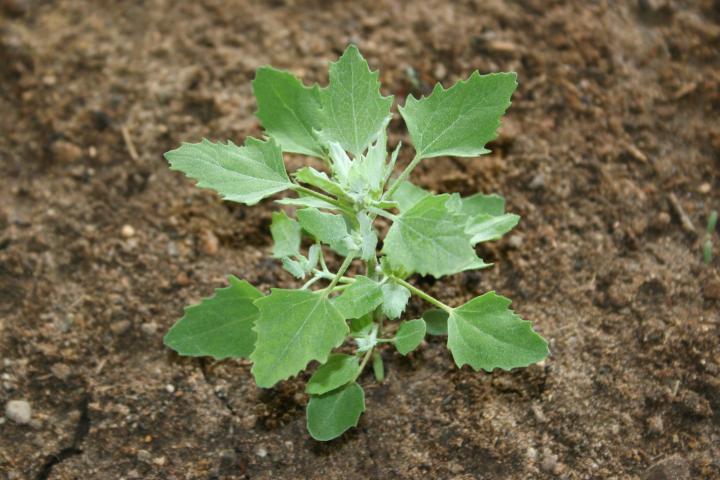
    The first thing you can do in the garden in the dry weather is to get rid of any unwanted weeds as they will pull up ALOT easier in dry soil.

    • Water newly planted subjects as a priority making sure the root ball is wet and checking with a trowel if necessary. Where watering is not possible, consider applying a spray such as Wilt Pruf.
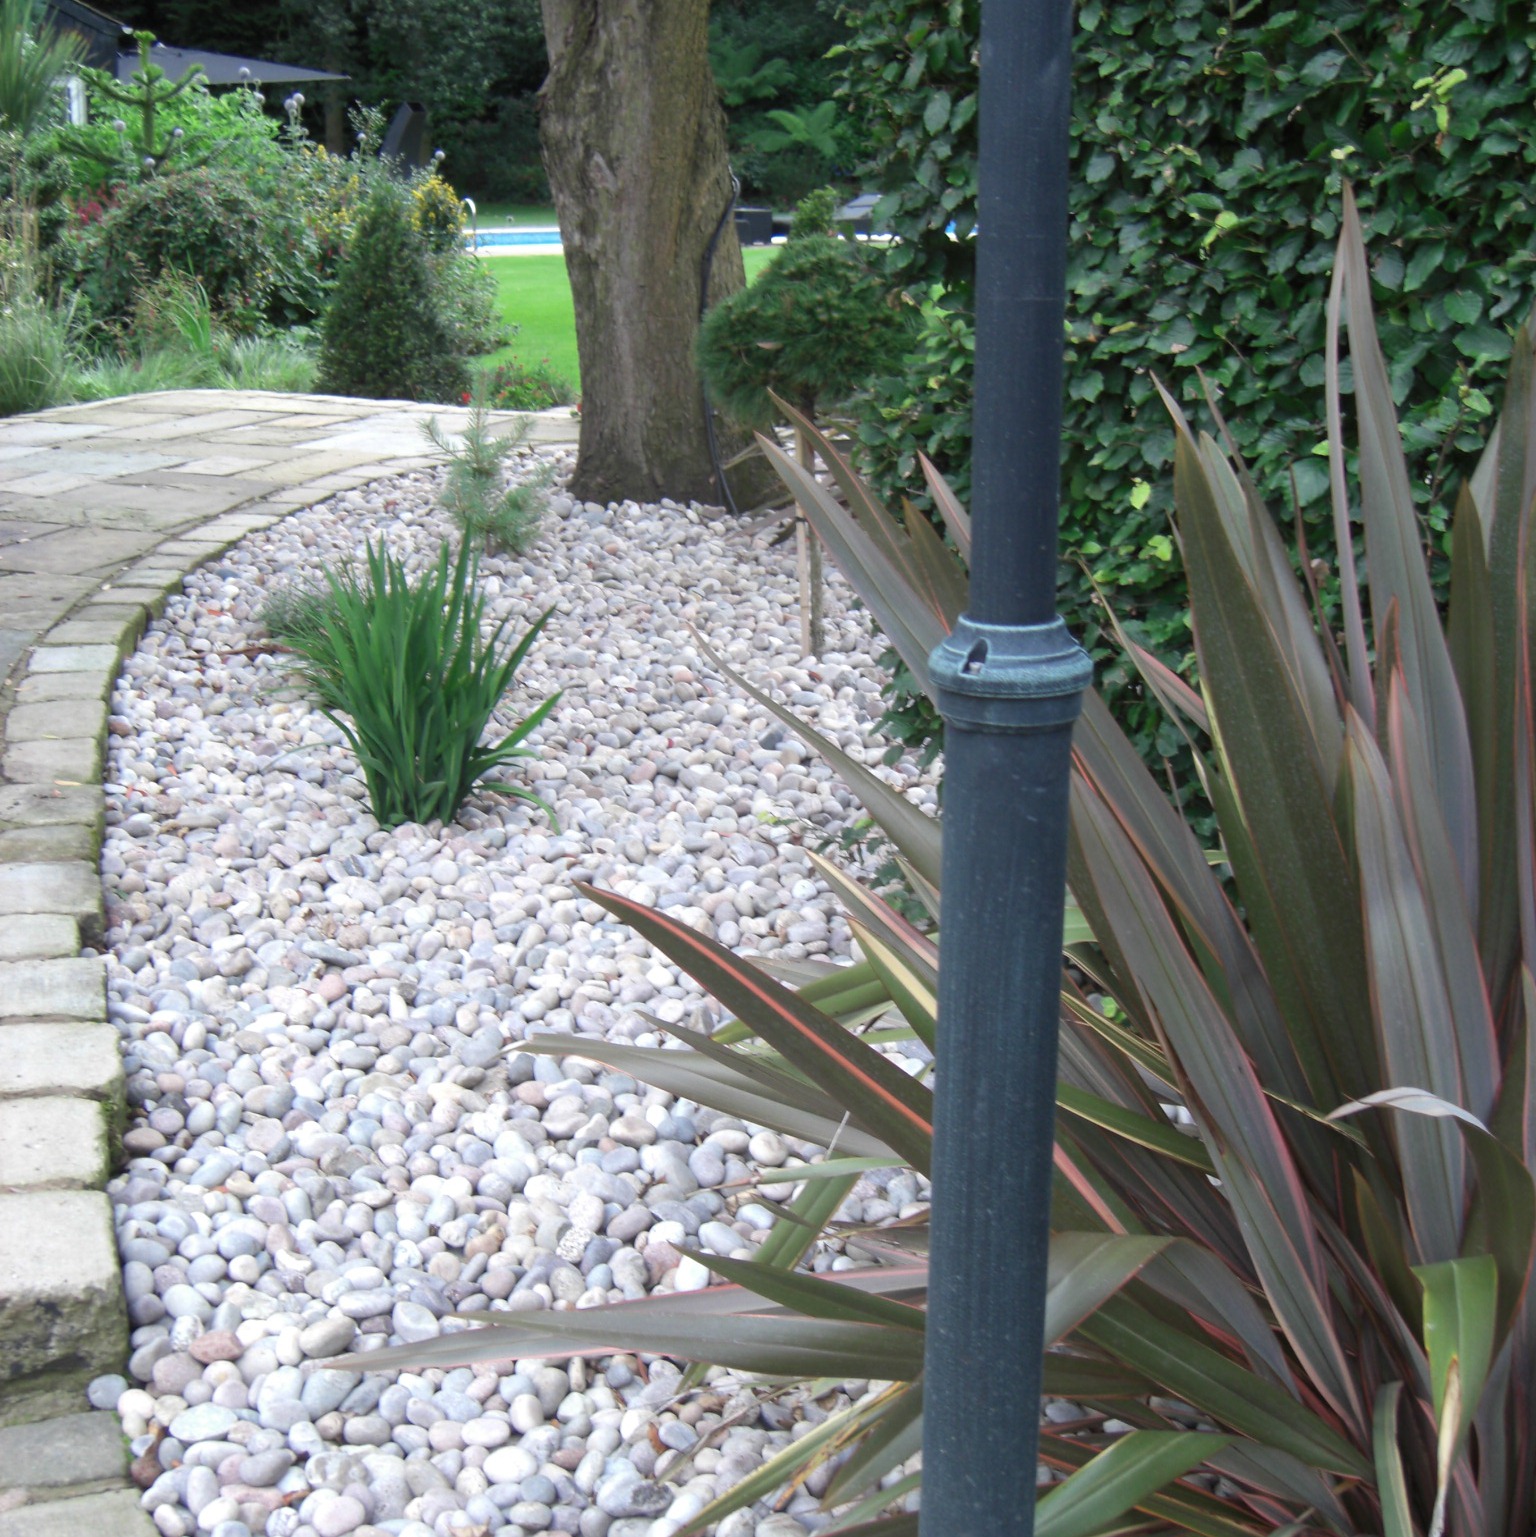
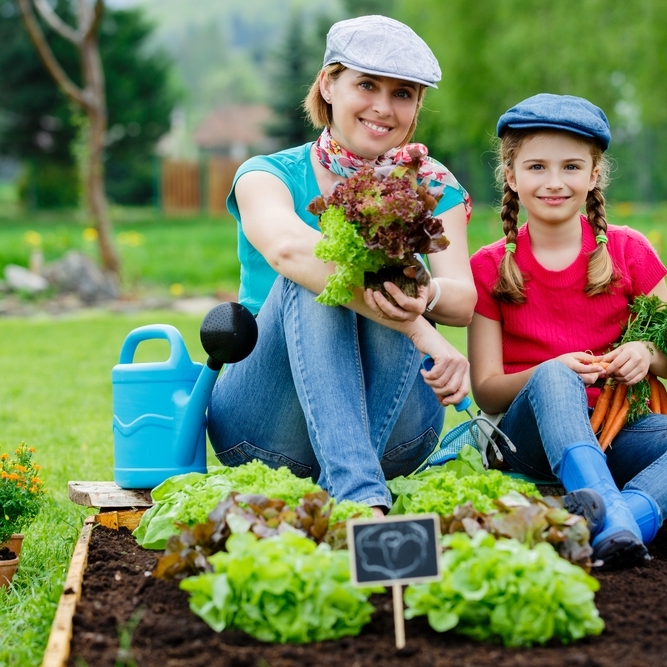
    • If you want to do some planting to keep your hobby alive during this hot weather consider planting flowers that are from and therefore used to hotter climates- some examples are; agapanthus, Eucomis, canna, dahlias, marigolds, petunias and zinnia. These particular plants can still thrive and grow during a heatwave with little maintenance.

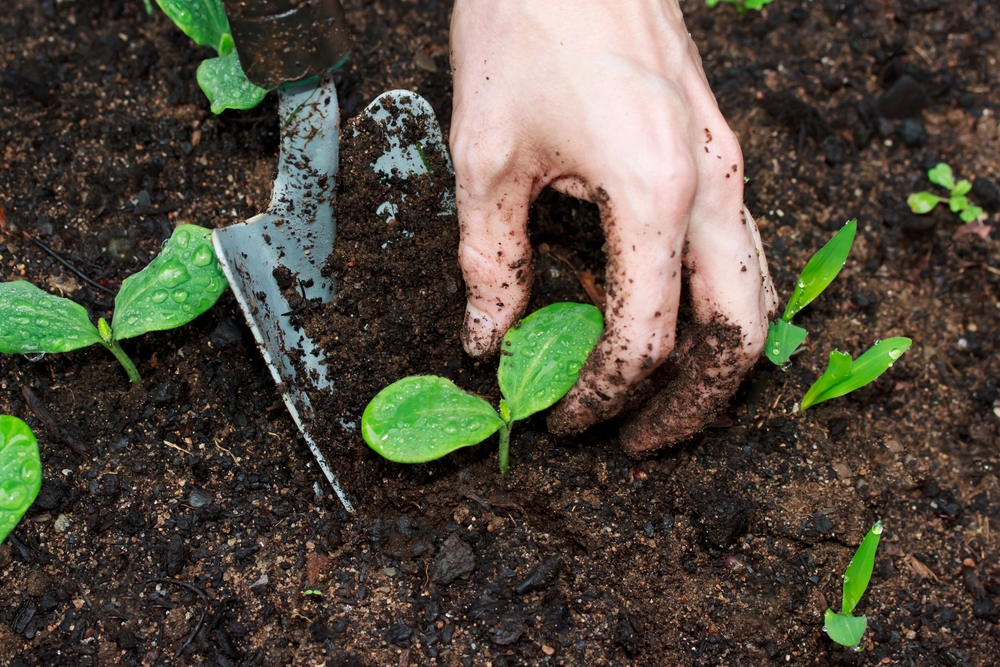
    • ‘Puddle plants in’ – this is when you fill the planting hole with water and allow to drain 5-10 times before planting, this ensures the area of soil is fully hydrated before planting.
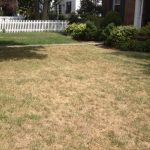
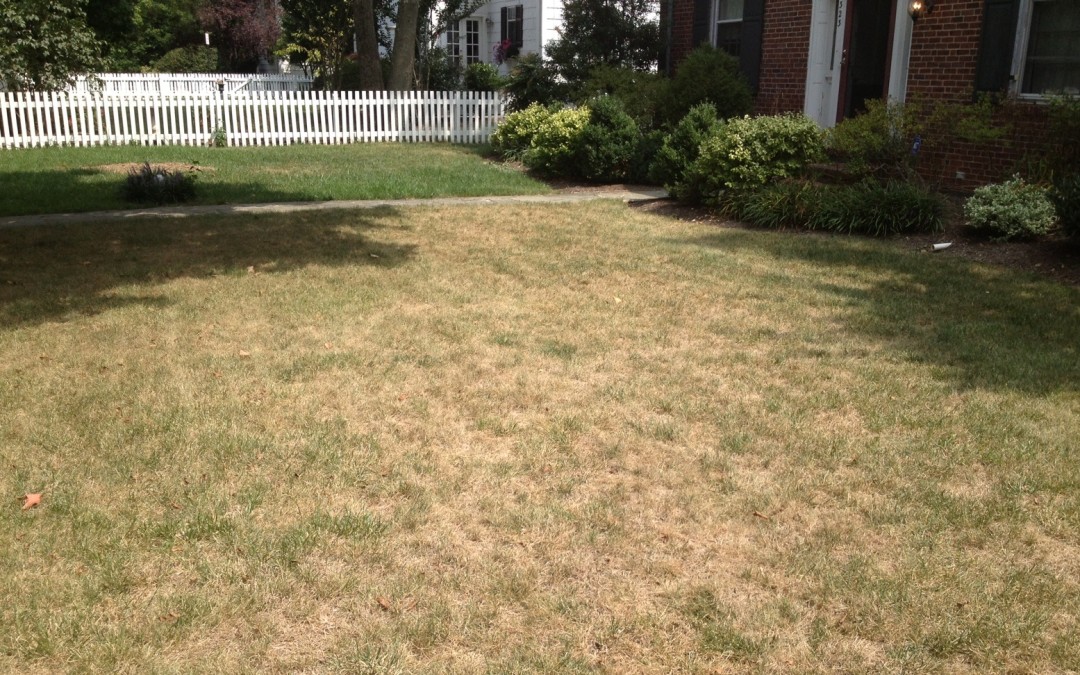
    • Save water and money! Don’t bother watering your grass. The main leaves will die and the grass will appear a yellow/ brown colour but the grass root will stay alive and will come back to life naturally once a cooler temperature and the rain returns.
    • One bonus of this is that you won't need to cut your grass for a few months!

    • If you’ve been away and your lawn has overgrown, don’t cut it short in one go. Do it in stages by gradually lowering the blades on your lawnmower each time you cut.
    • Pools, bird baths, fountains and ponds evaporate faster in the hot weather, keep them topped up as much as possible. If you don’t have any of these things then make sure to leave a shallow bowl of water out – hedgehogs, birds, insects and other animals will appreciate it massively!

    • Get prepared! If you know its going to be a hot summer... you can train your plants! When plants are young they’ll adapt more readily to the amount of water they receive, and get used to irregular watering. Basically, your plants will learn to need less water to survive. If you know it’s going to be a hot summer, it’s worth bearing this in mind with your younger plants.
    • In dry conditions, water container plants at least once a day. Water in the evening to reduce evaporation.
    • Consider your own health and safety whilst out in the garden for long periods of time- to avoid sunburn and sunstroke.
    • Wear suntan lotion or sun block.
    • Work in the shade if possible, out of direct sunlight.
    • Wear a hat.
    • Take regular breaks and drink water frequently.

  • Preparing for the cold season

    Winter is almost upon us, which means that there are a number of jobs to be completed in the garden to make sure that it is protected from the dropping temperatures.. If these tasks aren’t completed in time you could find that your plants and flowers are damaged throughout the winter or that your garden isn’t as safe to work in as it is during the rest of the year.

    Helping your Plants

    One of the most important tasks for you to complete during the autumn months is to mulch the surface of your flowerbeds. By mulching your flowerbeds you can insulate the roots of your plants and protect them against the effects of frost.

    There are a number of materials that you can use as mulch, many of which we covered in our article earlier in the year which you can read here.  We stock materials such as 10mm Gravel, 20mm Plum Slate and many more which are all suitable for protecting your soil from frosty conditions.

    Watch you don't slip...

    Working in your garden during the winter can be potentially hazardous due to the chances of slipping or falling whilst navigating the grounds. This hazard is caused by frost and ice as it begins to spread throughout your garden and can only be prevented or controlled through the use of rock salt.

    By covering the ground with a layer of rock salt and grit you can reduce the point at which the water freezes and also provide stability. The grit that you lay across the ground improves manoeuvrability as it causes an increase in friction between the ice and the soles of your feet which in turn means that you will have a better grip whilst walking across any ice that forms despite the layer of salt.

    Enhanced Drainage

    When the snow has fallen and the thaw begins your soil can become bogged down by the sheer amount of melt water. It’s because of this excess water that you should attempt to improve the drainage within your garden during the autumn months. Although it’s unlikely that the excess water will cause significant amounts of damage to your garden, it’s still best that you do not take the risk.

    To enhance the drainage within your garden you can mix specific aggregates into the soil to add more space between the soil particles, allowing the water to drain quickly. The most common aggregates to be mixed into the soil are sand and horticultural grit as they are incredibly fine particles and won’t discourage or impair root growth.

    Delivery

    We offer FREE economy delivery (2-3) days to most UK postcodes. We offer other deliveries such as Next Day (overnight service), Economy pre 12pm, Economy pre 10am, Next Day pre 12pm, Next Day pre 10am and Saturday AM services. All these delivery services will come at extra cost and deliveries are made via tail lift vehicles, so the bags cannot be lifted over walls, hedges or fences. All products are delivered on a pallet and moved via a hand pump truck which will not operate on gravel or any soft ground.

    delivery-infographic

  • PREPARING FOR THE FORTHCOMING WINTER WEATHER

    The Met Office have predicted that the UK will be entering the ‘Big Freeze’ any time soon and this is anticipated to last well into early 2017.

    Rock-Salt Pre pack

    Winter weather can lead to very dangerous conditions for both drivers and pedestrians. Slippery roads can lead to skidding and collisions and icy footpaths can cause slips and falls. Even a light dusting of snow can be dangerous. In fact, most accidents occur during minor snow falls and ice build ups as drivers and pedestrians can be caught off guard and misjudge the severity of the conditions.

    Drivers may purchase winter tyres and follow safety procedures to prepare them for hazardous conditions, but even the most careful of drivers could fall victim to an accident in the snow.

    Rock Salt  is a coarse grit used to de-ice roads, footpaths and driveways. Rock Salt lowers the freezing point of the moisture in snow and ice to help it melt quickly. This means that roads and footpaths will be safer to use as the hazard will be removed sooner than if the ice was left to melt naturally.

    People often see local authority salt grit trucks on the roads before the snow has even fallen, but it is beneficial for the salt to be in place before the freezing has taken place. This is because Rock Salt that has been previously crushed by traffic is much more effective at clearing ice and snow.

    Using Rock Salt on driveways and paths can significantly decrease the risk of injury caused by slipping and falling on the ice. As driveways are used frequently throughout the day, it is important that they are safe for both walking on and driving to and from the home. De-icing a driveway is particularly important if the driveway is on an slope, as this can be extremely hazardous. Once the salt is applied, the ice should start to melt away quickly and effectively, leaving the driveway in a safer condition.

    Brown Rock Salt  is mostly used on the roads and motorways, whereas White Rock Salt  is preferred by businesses and public services. It is seen as a 'cleaner' alternative to Brown Rock Salt as it does not leave residue that can be caused by the use of Brown Rock Salt. However, Brown Rock Salt is drier than the white alternative and so spreads more easily. It also has a much smaller carbon footprint than White Salt. As Rock Salt freezes at a temperature of around minus seven degrees, it should be stored in an appropriate place such as a grit bin or a sealed bag.  We can supply both Brown and White Rock Salt in either large Bulk Bags (approx 850kg) or more manageable 20kg bags (minimum order of 14).  Our convenient  delivery options include a fast Next Day delivery.

    Both drivers and pedestrians should follow the Highway Code and pay particular attention to safety advice when travelling in icy conditions. Children and elderly people may need additional assistance to ensure that they are safe and avoid accidents during the winter months. Attention should be paid to weather warnings and if possible journeys should be avoided when roads and footpaths are icy.

  • Create a low maintenance gravel border

    If you hate weeding borders, then this is the blog post for you! One of the most common reasons why redesigning a garden area is considered, is to cut down on the amount of work required. Busy lifestyles in this day and age have meant less time to complete ‘mundane’ garden jobs such pulling out weeds. You can cut down on the amount of weeding  you do by creating a low maintenance gravel border.

    Scottish Cobbles 30-50mm7

    Step by Step Guide to creating a Gravel Border:

    1. Firstly, you need to clear the area. Remove all or most of the existing planting from the borders keeping any favourites to one side.
    1. Next, dig over the border to introduce air into the soil and make it easier to work. Remember, this is your last opportunity to improve your soil, so if it is heavy, add a little peat free compost to break it up a bit. You can add a general purpose granular fertiliser at this stage too.
    1. When you have dug over the soil, rake it over so it’s even there will be no bumps underneath the gravel.
    1. Now you can lay out your weed control membrane. Peg it down so it’s nice and secure.  Laying weed control membrane is an important step as it blocks out light to the weeds and keeps the gravel separate from the soil. Ensure you use ‘actual’ weed control membrane as opposed to bin bags or plastic sheets with will degrade over time.
    1. After you have laid out the membrane, plan the positions of your plants if you have chosen to keep any. Cut a cross in the membrane big enough to accommodate the plant and fold back the edges. Carefully remove enough soil to allow you to plant the plant. Keep a container close by to put the soil into. You want to avoid letting soil fall onto the membrane. After planting, fold back the edges of the membrane to form a tight seal around the plant.

    polar white and red granite 3

    1. Finally, you can lay your chosen gravel. There are many different types of gravels to choose from and it will really be down to personal taste.  An ideal size is a 20mm such as 20mm Golden Gravel, or 20mm Yorkshire Cream – both of which are a flint.  If a more rounded look is preferred, we have the 20mm Moonstone or 20mm Gravel.  If you want to introduce some colour to the garden, we have 20mm Green Granite or 20mm Red Granite.
    1. With your chosen gravel in place, you can accessorise with ornaments or add height by introducing different sizes of cobbles.

    polar white and silver grey cobbles resized

    Delivery

    We offer FREE economy delivery (2-3) days to most UK postcodes. We offer other deliveries such as Next Day (overnight service), Economy pre 12pm, Economy pre 10am, Next Day pre 12pm, Next Day pre 10am and Saturday AM services. All these delivery services will come at extra cost and deliveries are made via tail lift vehicles, so the bags cannot be lifted over walls, hedges or fences. All products are delivered on a pallet and moved via a hand pump truck which will not operate on gravel or any soft ground.

  • Mulching - a quick guide

    Mulching is the process of layering soil and flowerbeds with materials, such as gravel slate or bark. It has multiple benefits including:

    • Helping soils retain moisture in summer
    • Suppressing weeds
    • Deter some pests
    • Protect plant roots from extreme temperatures
    • Give a decorative finish

    The best time to mulch entire beds or borders is in late-winter or early spring. This will trap in moisture from wet weather and ensure beds don’t dry out quickly in the heat of summer.

    How to mulch

    • Before mulching make sure the site is clear of weeds and the soil is moist. Water if necessary as it's difficult to wet dry soil through a layer of mulch.
    • Spread a 5cm (2in) layer around plants or across the soil with a spade, leaving a little gap around the stems of plants.
    • Rake to a level finish.

    What are the best materials for Mulching?

    10mm Gravel (Pea Gravel) is the most commonly used for mulching and is really economical. This Quartz Gravel consists mainly of browns, creams and grey colours which allows it to blend in nicely to most landscapes.

    Ornamental Bark is great for mulching around flower beds, rockeries and looks especially attractive when laid around the base of trees. This product is ideal for use in winter as it protects plants from harsh weather conditions and also helps retain moisture in plants.

    20mm Blue Slate adds a modern and contemporary look to your borders, is very pleasing to the eye and looks refreshing when both wet or dry.

    plum slate 40mm resized20mm Plum Slate is a popular slate colour which adds a stunning affect to any landscape project and can make any border or stand-alone containers look stylish and refreshing.

    green slate 20mm20mm Green Slate has a well balanced natural look and it is often used alongside our ornamental bark for mulching borders.


    All of these products (and more) are now available on our website and are available to purchase in either Bulk Bags or in the smaller Handy Bags. As well as that we are now supplying customers with a more flexible option to buy as they can get Handy Bags in sets of 7 starting from 14; this means that the customers are now able to order a specific amount to what they require which we have found helps customers as they don’t then have a massive amount of material left over. If they do have some material left over at least they are in the smaller handy bags which mean they can be stored easily by the customers and used to keep the project looking as fresh and new as possible.

    Delivery

    We offer FREE economy delivery (2-3) days to most UK postcodes. We offer other deliveries such as Next Day (overnight service), Economy pre 12pm, Economy pre 10am, Next Day pre 12pm, Next Day pre 10am and Saturday AM services. All these delivery services will come at extra cost and deliveries are made via tail lift vehicles, so the bags cannot be lifted over walls, hedges or fences. All products are delivered on a pallet and moved via a hand pump truck which will not operate on gravel or any soft ground.

    Garden&StoneDelivery


  • Supplying schools and nurseries

    Since the busy Easter period we have been delighted to supply local and national Primary schools with a range of materials such as our Beds and Borders Topsoil, Vegetable Topsoil, Play Bark and Play Sand.

    vf soil 3 resizedAs the mild weather conditions continue, many schools are sprucing up their garden and play areas in time for Summer and are introducing educational gardening areas to support learning with the National Curriculum.  Teaching children about where their food comes from as well how plants and vegetable grow is an ideal way to get the children learning outside in the fresh air.


    Our Premier Vegetable Topsoil provides all the natural goodness and nutrients needed to bring amazing, consistent growth that new planted fruit and vegetables need to become healthy. Unlike many other soil suppliers we blend our screened soil with local natural green waste compost that's processed through a professional 16 week Wind Row Composting Cycle.

    Premier Topsoil

    The Premier Beds and Borders Topsoil is a rich organic blend of soil and compost perfect for developing the growth of new and established plants, trees and shrubs. It contains natural water retentive materials that hold extra water within the soil which is then gradually released into the plants. This Topsoil is mainly used for beds and borders and provides new plants with enhanced root developments and improves growth rates.

    The play grade bark we have been supplying has been used to transform tired play areas whilst also providing a safe environment for children to play.

    Its natural formation helps to reduce the impact of falls by offering a cushioned effect, therefore reducing potential injuries which is what makes it a popular purchase from schools, nurseries and play area owners. Play Bark is extremely durable meaning it will last a very long time without deteriorating. It has been tested and certified to British safety standards and the perfect material to make a safe and risk free playground surface to reduce injuries as much as possible.

    play sand 1Our Play Sand is free from staining silica sand which makes it the ideal solution for use around kids and their clothing. This product is becoming more popular to our customers as it is free from dangerous materials such as stones, and meets safety standards which ensures a safe for children to use. This sand is perfect to use around play areas and to create sand pits that will provide hours of fun for children.

    All of these products are also perfect to use within the domestic environment can be supplied in bulk builders bags which contain approximately 850kg.  The play sand and topsoils can also be supplied in smaller convenient 20kg bags and delivered nationwide subject to a minimum of 14 bags.

    We also supply a huge variety of decorative aggregates - check out our range on our website.

    Our online ordering process is quick and easy to complete or if you prefer you can call our friendly sales team on 0800 0832 853 to place your order or for any advice.


  • Making a Raised Bed from Railway Sleepers

    A bed made from railway sleepers will be extremely strong and long lasting, with an attractive natural look. Our standard tanalised sleepers are sized at 2400mm x 200mm x 100mm (collection from our head office only) or 1200mm x 200mm x 100mm. We can supply both sizes in either Green or Brown.  You can use them horizontally, or cut them in length and lay them in the same way as timber posts. Instructions for how to make a raised bed using the sleepers horizontally are below.

    raised beds

    What you will need

    • Railway Sleepers
    • Circular saw or chain saw
    • Drill
    • 20 to 30cm wood screws
    • 10cm wood screws
    • Metal plate connectors

     Instructions

    1. Calculate the number of sleepers you need for your raised bed. The number of sleepers you'll need for your raised bed depends on the size of your desired bed. When calculating, remember that you need to make your bed at least four sleepers tall.
    2. Arrange railway sleepers into a rectangle or square on the ground. If the sleepers need trimming, cut them to size using a circular saw or a chain saw.
    3. Connect the sleepers end-to-end using metal plate connectors. Centre the metal plate connector over the gap where two sleepers meet and place a 10 cm (4 inch) wood screw into each hole to hold the plate in place. If you want your raised bed to be extra secure, you could place a second metal plate connector on the opposite side of the sleepers as well.
    4. Attach railway sleepers to each other at the corners using a drill and 25 to 30 cm (10 to 12 inch) wood screws. Wood screws do not require pre-drilling and can bore directly through sleepers. Connect the corners by drilling two to three wood screws through the entire width of one sleeper, into the end of the adjacent sleeper.
    5. Stack sleepers on top of the first set. Attach the sleepers to the bottom rectangle or square in the same way that you attached the bottom sleepers to each other, except drill the timber screws through the top sleepers into the bottom pieces. Also, connect the sleepers to each other as you did the first row, end-to-end.
    6. Continue stacking sleepers on top of each other until your wall is at least 45 cm (18 inches) high, though it can be higher if you prefer. Continue to use wood screws to connect the sleepers to each other.
    7. Once the construction is complete, we would advise lining the raised bed with membrane thus preventing weeds from growing from underneath whilst allowing for drainage.  Fill the raised bed with soil then populate with your plants or vegetables!

    All Products mentioned in this blog are available to view on our website www.stoneandgarden.co or by clicking the highlighted words which are hyperlinked to the appropriate pages and will take you directly where you need to go and the products are then available to look at and purchase. You can also have a look around at our full range of decorative aggregates and see if anything else catches your eye. You can purchase the products direct on the website or if you have any other questions you can call our sales team free on 0800 0832 853 and they will be happy to help.


  • New Product! Indian Stone Paving

    Here at The Stone and Garden Company, we are now supplying a wide range of Indian Stone paving, in a wide range of colours, the most popular Raj Green.

    Natural paving is becoming increasingly popular in gardens with Indian Stone being an excellent choice because of its range of colours and natural appearance.

    indianstonea

    Advantages of Indian Stone

    Indian Stone paving is a perfect alternative to traditional concrete paving slabs, and will enhance any garden area from patios, to stone steps. As it is a natural stone product, the textures vary and become enhanced when they weather naturally in time.

    Indian Stone paving is extremely hardwearing and should last for many years as opposed to other types of garden stone. They are also known to be less slippery in our rainy weather due to their natural textured surface.

    At the Stone and Garden Company we can supply Indian Stone paving in various sizes and patterns such as stone circles.  Traditionally they are laid out in an ad hoc fashion to create an interesting feature for your garden.

    Our huge range includes Raj Green, Mint Fossil, Rippon, and Autumn Brown, plus many more, which are all naturally varied in shade. These warm and subtle colours compliment older gardens and houses but also make an attractive contrast for more modern designs.

    Where to Use Indian Sandstone

    Indian Stone paving can be used anywhere within your garden including pathways, stone steps or as a patio.  It is an ideal product for laying patios with the variety of slab sizes in our packs meaning it is easy to cover areas of various shapes and sizes.

    Our Indian Stone products are available to view in person at our Head Office in Doncaster or online at www.stoneandgarden.co.  and can be delivered nationwide at really competitive prices. (Check our delivery section below).

    We also provide complementary products to help finish your project such as our kiln dried sand, paving sand, and our range of specialist sealants.

    If you would like a quotation or any further details about or Indian Stone paving please call us 0800 0832 853 and a member of friendly sale team can provide all the information you need.

    The Stone & Garden Company offers a variety of Delivery Services including our standard economy 2-3 days service and a next day service for an additional supplement.  All deliveries are made with a tail-lift vehicle which means it needs a hard solid level piece of ground to be unloaded upon.  There also needs to be sufficient access for a large vehicle. Please note that we don’t use cranes or hi-ab vehicles.  If you need to clarify any of the delivery constraints, please do not hesitate to call us or check out the delivery section on our website at www.stoneandgarden.co for further information.


  • Summer is finally here – time for a change?

    Now that Summer is finally here, it’s a good time to start planning to spruce up your property.  There are plenty of things you can do to your garden and grounds to update its look or make some complete changes.

    From small projects such as updating your borders with fresh mulch to larger projects such as making new pathways, installing a new patio or driveway.  We at the Stone and Garden Company can advise you on the most suitable material and ensure that you have everything you need to make it look its best when finished.

    blue slate around stepping stones resizedNew Paths

    Slate chippings are an ideal material to create new or update existing walkways on your property. They can add colour and texture to what could be a fairly dull area of the garden.  Because of the natural of this material, they are ideal for covering or disguising broken or worn concrete paths.  We supply slate in 4 lovely colours – Blue and Plum Slate in either a 20mm or a 40mm size, with our Green and Grey Slates being 40mm in size.

    Creative Features

    Slate Chippings and Decorative Stones can be used in many ways to create new displays within your garden. For example you could add a pond or water feature.  The ‘look’ of many of our materials is often enhanced when wet – in particular our slate, granite or black basalt.

    An attractive minimalist look can be created by using one basic colour slate with the addition of the odd large rockery type stone or boulder(s).

    Rockeries are perfect for changing the dimension of the garden by adding height and a variety of textures with a nice mix of stone and foliage.

    10mm cotswold drivewayRefresh the Driveway

    Putting down some fresh aggregate on your driveway will leave it looking smart and presentable. We have several gravels perfect for laying on driveways, such as our golden gravel, flamingo or dove grey.

    We have published a guide to laying a new driveway with gravel and this can be found here.

    The Stone & Garden Company offers a variety of Delivery Services including our standard economy 2-3 days service and a next day service for an additional supplement.  All deliveries are made with a tail-lift vehicle which means it needs a hard solid level piece of ground to be unloaded upon.  There also needs to be sufficient access for a large vehicle. Please note that we don’t use cranes or hi-ab vehicles.

  • Building raised beds from old worn tyres

    If you have some old tyres that have been sitting around in the garden you make use of them by creating some raised beds which can also give you something to do to entertain the kids and get them involved.

    Step One
    Gather the equipment needed

    • Jigsaw with a lot of carbide wood blades
    • Chainsaw or anything alternatively that will cut the wood to the right size
    • 2” Screws
    • Chalk/pencil – (something for marking the wood with)
    • Drill for screwing the tyres together
    • Bungee cords or string for holding the wood together around the tyres for measuring
    • Large Spirit level
    • Weed membrane or something to go under the first tyre to stop weeds growing up in the tyres

    Step Two
    Cut off all of the sidewalls on the tyres & put them in size order.

    Use the jig saw and cut out the sidewalls on all of the tyres as this prevent and muck or water from getting stuck inside the tyre as this can actually damage the material. I would advise using the carbide wood blades with the jigsaw as they are the ones that will last the longest. When cutting the sidewalls remember to leave an inch gap from the wall of the tyre so there will be something to screw into but the top tyre doesn’t need a lip on as nothing is going to screw into (unless you’re planning on adding more).

    Step Three
    Prepare the ground and lay the first tyre in place.

    When doing this I would make sure you pull out any weed from underneath as it will prevent them from growing up into the tyres. Also I would lay some weed control membrane under the first tyre to again just prevent weeds from getting in. You can cut the membrane to the size of the tyre and the weight of the tyre will hold it in position. Make sure the first tyre is level because the other tyres will rely on this one the most and if that one isn’t straight they will just fall over so it’s better to be safe than sorry.

    Step Four
    Stack up the tyres

    Now you can add on the other tyres one-by-one but after each one make sure they are screwed together to help them stay in place when they are getting filled up later on.

    Step Five
    Fill ’em up

    Next job is to fill up the tyres this can be done by filling them up with or mulch. Some fill them up with mulch and then just put soil on the top for the plants to grow on. Whichever you decide to will both work but the mulch is easier to shift as it is much lighter than soil. Then top the mulch with the soil (if needed) and you’re nearly done.

    Step Six
    Just one more thing before planting

    The tyres need protecting from the sun so the best way would be to get some wood paint it and then screw it around the tyre which will give the tyres their protection and will also add a nice finish to it. I would put all the wood around the tyre (use the bungee cables to hold them in place) and then mark it where it needs to be cut. Unclick the strap and then cut the wood, paint it, decorate however you want and then screw them to the tyre.

    Step Seven
    Plant the seeds

    You can now plant the seed and enjoy the finished product, we would really appreciate it if we could get some photos of your project and we might even use them on our website.

Items 1 to 10 of 81 total

  1. 1
  2. 2
  3. 3
  4. 4
  5. 5
  6. ...
  7. 9