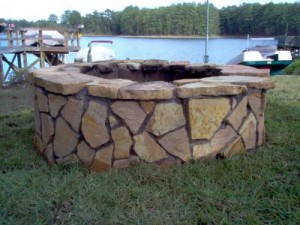
Here at The Stone and Garden Company, We know that you want a unique garden so we are constantly trying to think of new ways to inspire you. This time we have a self-lighting path ready for those dark, winter evenings rolling in. What you'll need:
- A spade
- A rubber mallet
- A wheel barrow
- A shovel
- Tarpaulin
- Weed control membrane
- Weed control fixing pegs
- Bricks or Cobbles
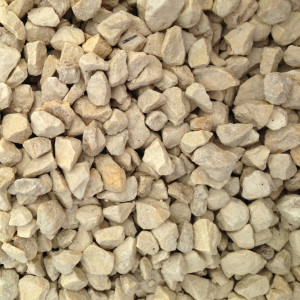
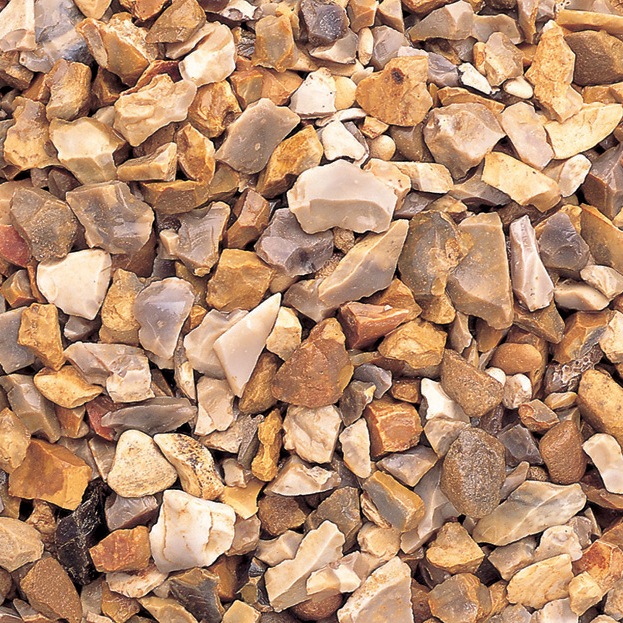
- Gravel
- Rope lighting
Method:
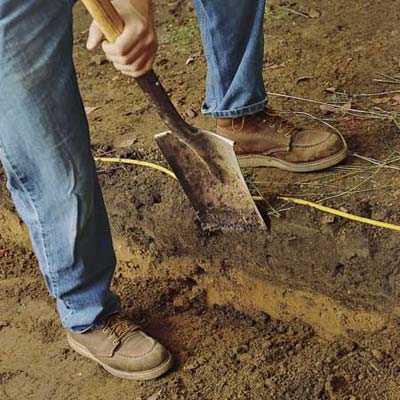
First of all you need to dig out the length, depth and width of your path. We suggest that you use your wheelbarrow to move what you dig up to the bin or tarpaulin. This will help to keep your garden clean and leave less mess for you to clean up later on.
Once you have dug out your path, you need to start to lay your weed control membrane. You will need to fix the weed control membrane in place using the weed control fixing pegs so that when you get to laying the gravel, it does not move.
The next step is to use your bricks to create the path border. We suggest that you lay your bricks side ways as this cuts down on the amount of bricks needed. To secure each brick in place, tap the tops and sides to get them as close together as possible as well as getting the close to the path edge.
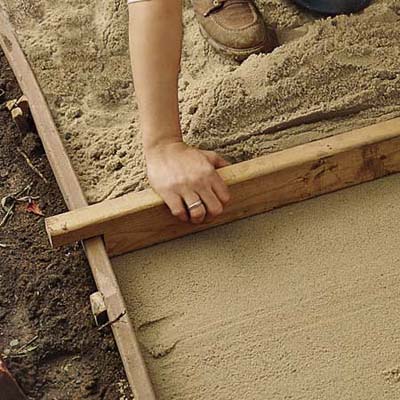
Now it is time to lay your gravel. Start by shoveling the gravel in to the middle of the path, making sure you distribute it evenly.
Now you have a choice. If you want your rope lighting to light up your entire path then follow step six and by pass step eight. If you just want the edges of your path to light up then jump to step seven.
When you have filled your path three quarters full with gravel, it is time to put your rope lighting in place. Take your rope lighting and lay it however you want from one end of the path to the other, making sure there are no large areas that will not be lit up.
Now continue to lay the gravel as before. when all the gravel is down you need to level it off so that it is all roughly at one level.
Next it is time to add your rope lighting to the edges of your path. You may need to secure your rope lighting in place at either end and at various points in between. You can do this with a piece of metal wire. Cut a section of wire large enough to wrap around your rope lighting and be twisted in the middle. Wrap it around your lighting and twist the loose ends together. Finally, push the twisted ends deep in to the ground and your lighting will be secured.
That's it. Your path is now complete and should be looking fabulous. Why don't you send us your images to [email protected] and they might even get featured on our website.
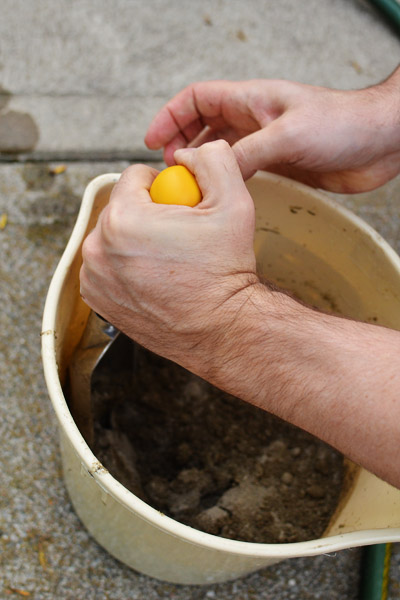
 rial and error but after 3 or 4 rocks being placed, you will know when to let go)

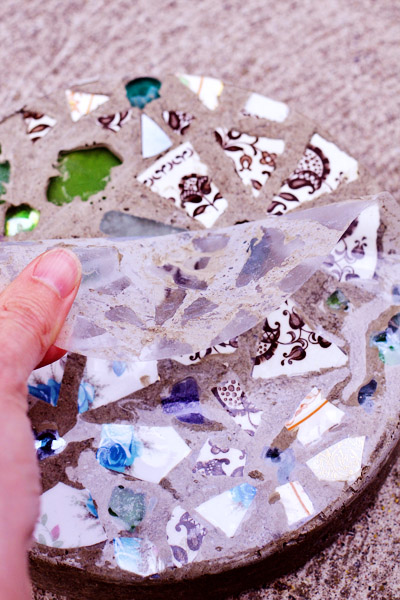
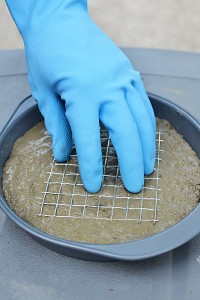 concrete in add the wire mesh that you previous cut. By adding the wire mesh, you are helping to strengthen the stone just that little bit more.