Wanting a gravel for your driveway? Here at The Stone and Garden Company we supply a range of top quality 20mm gravels that are suitable for drive ways. We deliver our products to customers locally or nationally. With a variety of colours, shapes and sizes you will not be stuck for choice with us. Here's a short description of our most popular gravels we sell:
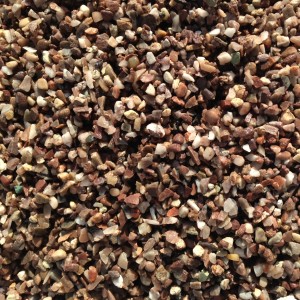
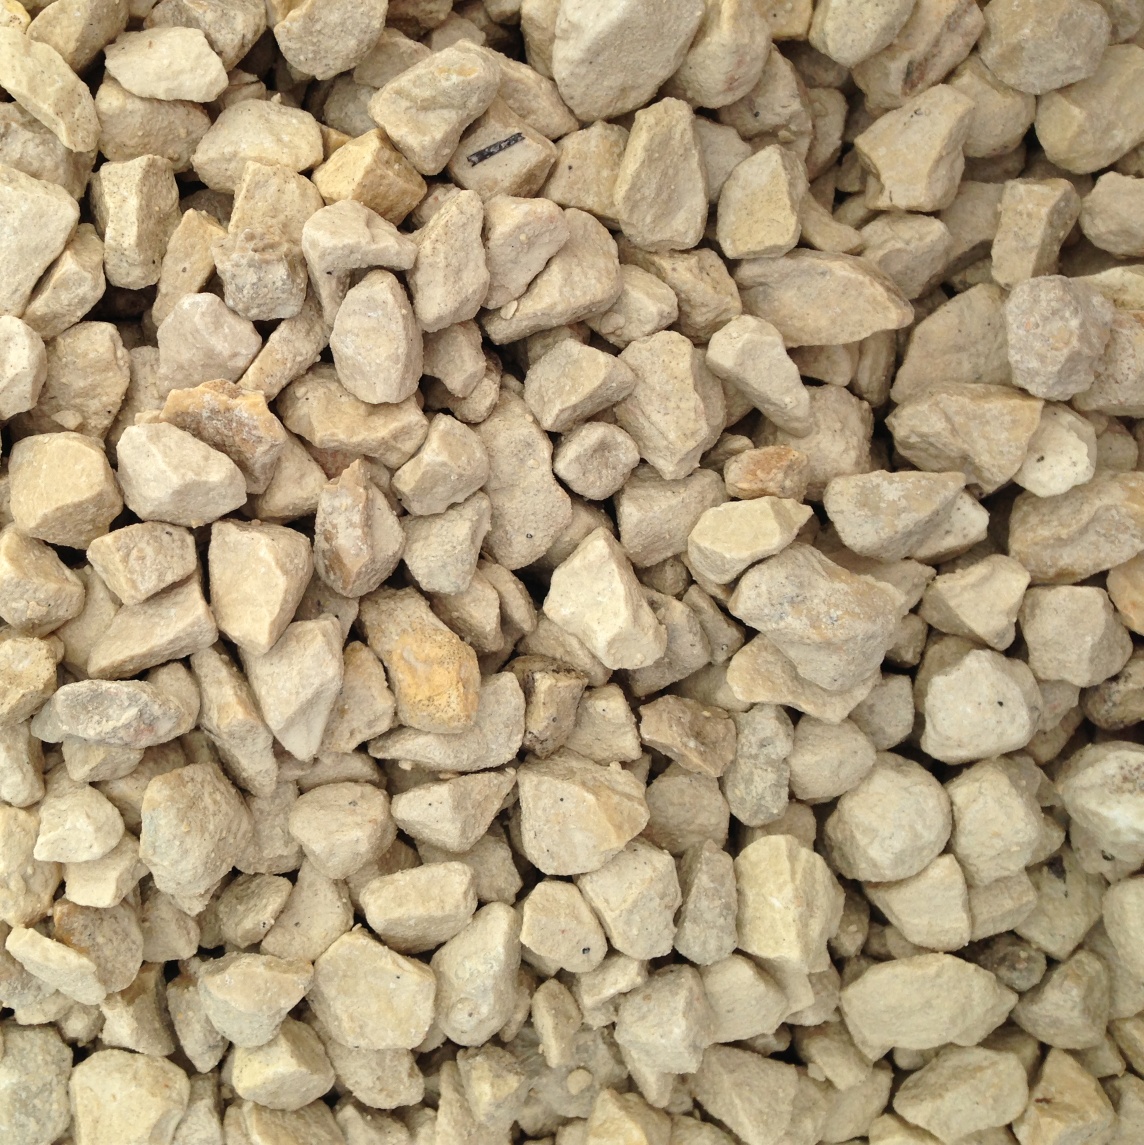 20mm Cotswold Chippings
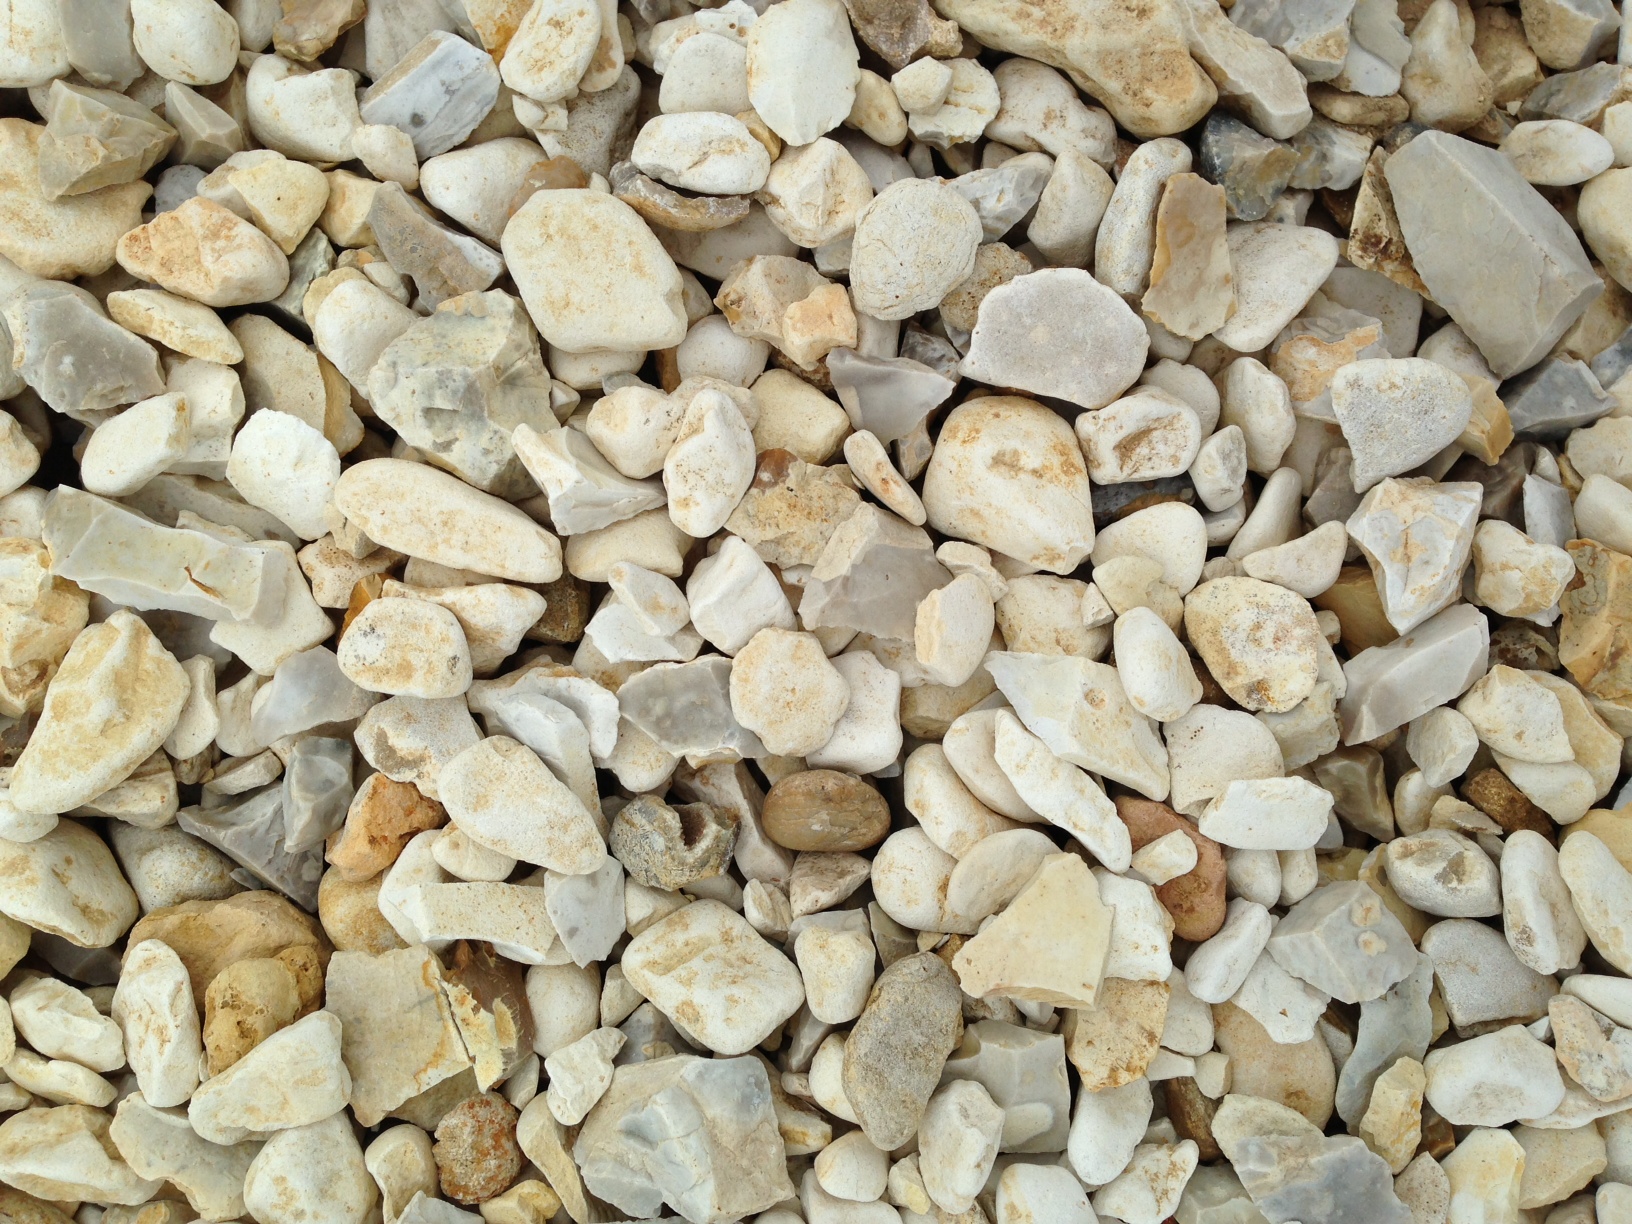
20mm Cotswold Chippings - a wonderful light creamy cotswold buff colour that will revitalize any project
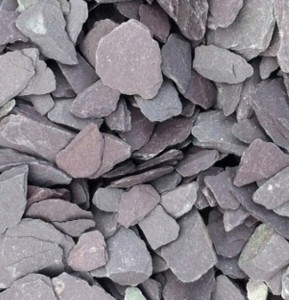
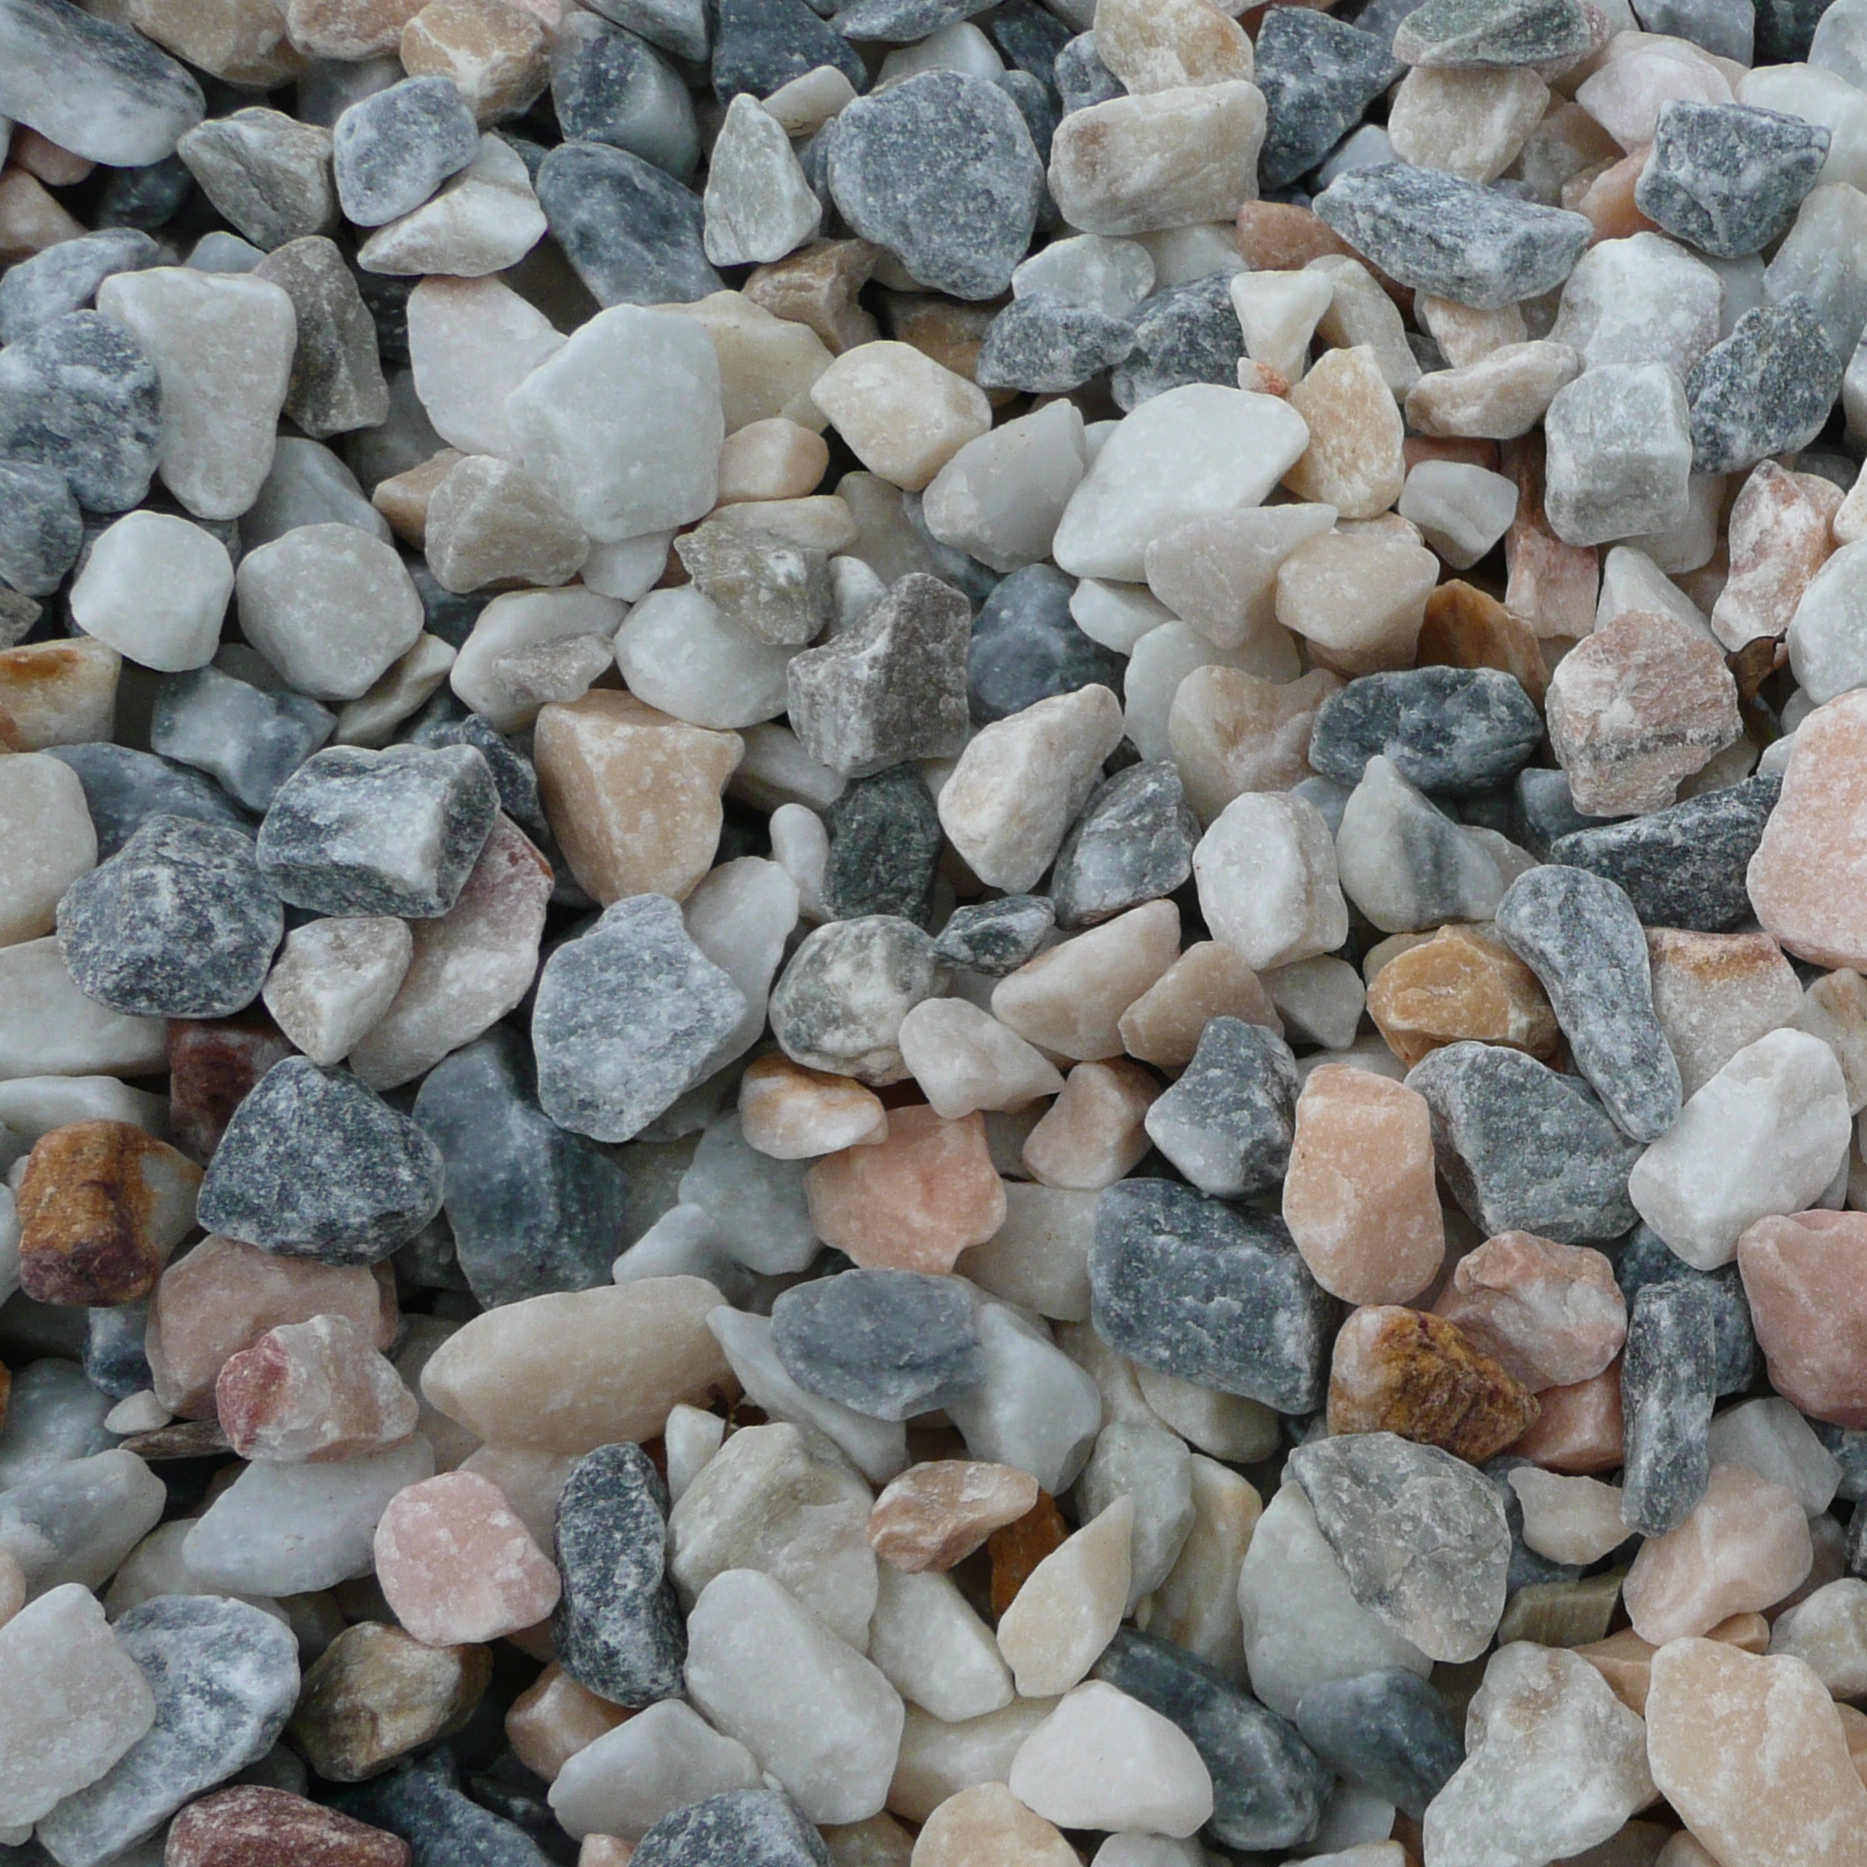 20mm Flamingo Gravel
20mm Golden Gravel - a real classic flint shaped gravel, a mix of brown, gold, yellow and cream, adds a contemporary golden look
20mm Dove Grey - popular grey chippings for very attractive in the sunshine and reflects light beautifully, also has a dark dramatic look when wet
20mm Moonstone - very attractive flint, black and cream colours that are perfect for adding a classy look to an application
20mm - Yorkshire Cream - angular Flint mix that has a lovely contemporary look and feel to it, creamy light colours that brighten up any project its used for
20mm Flamingo Gravel - beautiful angular marble, stunning mix of rose pinks, whites and greys that glisten and sparkle to give a really bright, elegant look and feel to anywhere it is applied
We sell more Gravels than this that can be viewed on our Gravel page.
All of our driveway gravels are high strength material, this makes it hard wearing and long lasting which is why they are so great for driveway use. The angular shape makes the material bind well together so that when taking on heavy traffic the gravel will not disperse or spread out. Our 20mm gravels are perfect size for being driven upon as the stones won't get stuck in between tyre treads. As well as taking on heavy traffic or maneuvers, this gravel will not deteriorate or break down when under any sort of pressure which is why gravels are popular choices with our customers, because they know they are being provided with only the best top quality products that they wont have problems with or that will need replacing after a short amount of time.
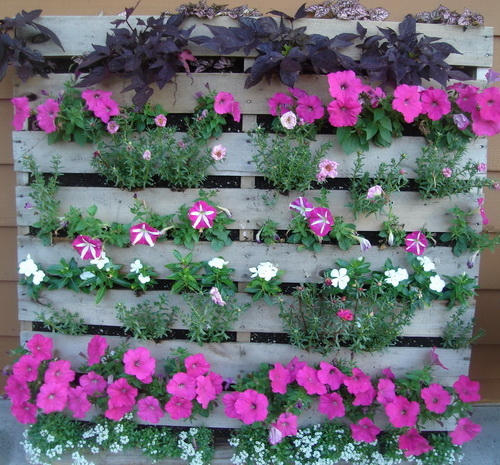
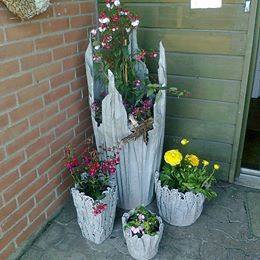
Our gravels can also be used for ground cover, paths, water features, borders and for dressing pots and planters around their homes and garden, doing this adds great looking touches and affects.
At The Stone and Garden Company we supply our 20mm Gravels in bulk bags or 20kg handy bags. A bulk bag contains 850kg and our handy bags come on a apllet of 42 x 20kg bags. If you are unsure about the products you can order a sample bag for just £3.00. Loose loads can be delivered locally but for this you must contact sales team at free phone 0800 0832 853.
We offer FREE economy delivery (2-3) days to most UK postcodes. We offer other deliveries such as Next Day (overnight service), Economy pre 12pm, Economy pre 10am, Next Day pre 12pm, Next Day pre 10am and Saturday AM services. All these delivery services will come at extra cost and deliveries are made via tail lift vehicles, so the bags cannot be lifted over walls, hedges or fences. All products are delivered on a pallet and moved via a hand pump truck which will not operate on gravel or any soft ground.
Unsure if these are the gravel for you? Explore our website or give us a call on 0800 0832 853 for a free quote and more information on all our products. We have a variety of materials in different colours, shapes and sizes. For even more info check out our blog.